Showing posts with label Farmhouse Decorating. Show all posts

Hens, Roos & Chickies Too!

Monday, August 8, 2011
Time to show off your roosters and hens over at Sheila's Heart of the Home Party. I always love a party -- especially a themed party! If you've been following along at Faithfulness Farm, you already know that I like chickens.......A LOT! I took part in Barb's Rooster Parties last year and the year before last.

This year, I already had my dining room sideboard all dressed in yard birds so I clicked a few photos and rushed right over to PARTY!! My sideboard is just an old antique chest of drawers that stores my collection of napkins, tableclothes and placemats. A red-checked-lined basket holds 4 *On The Farm* rooster plates from the David Carter Brown Collection (each plate depicts a different regal looking rooster), some red tin stars and a yummy apple scented candle. Chickens LOVE apples!
A stack of some cute vintage transferware plates -- can you believe I found a bowl to match -- I love the yellow on the bowl.
Toothpicks hanging out in a little spotty hen.
A cloche over an enameled pie pan and a collection of brown & white (ceramic) eggs.
Isn't this gravy boat just wonderful? -- I suggest using the ladle though -- his gullet doesn't like giving up the gravy -- I must make thick gravy, lol.
A larger cloche over another enameled pie pan - Mr. & Mrs. Roo under glass!
a small vintage planter with a tiny baby African Violet.
A Roo salt shaker and his Hen pepper shaker on a little tray -- I LOVE all white dishes!
Aren't these just the cutest little Roo and Hen?
Back in the kitchen, there are a couple scary looking vintage fighting cocks overseeing all that goes on. These were garage sale finds and someone had painted them burnt orange -- talk about scary, lol. Nothing a can of black spray paint didn't quickly fix.
Well, I better save something for the next party -- I think I'll put the kettle on to boil.

A BIG Thank-you to Miss Sheila -- such a lovely hostess!!


More Doilies

Sunday, January 30, 2011
When I was writing my recent post on crocheted doilies and edgings I found some wonderful ideas for repurposing doilies. Some I had seen before like framing them. I LOVE this idea and am watching out for the *right* frame to try this project. I recently spoke with one of my oldest and dearest friends and she told me about having a tablecloth her grandmother crocheted framed. It measures 6-feet x 6-feet. Can you imagine? I cannot wait for her to send me a picture of that.

I also saw sachets made from doilies...very cute. The project that got my rapt attention though was using doilies to create a tablerunner. The examples I saw were stunning (you can see them here and here)....I TOLD you they were stunning! I just had to have a doily runner. Problem with that was that I didn't have enough doilies in the color I was going for to construct one. That meant no matter how much I was trying to avoid the thrifty stores, I had to go thrifty shopping!


I found a few that were going to be perfect for this project but I was concerned that I had too many differing shades of cream/beige/ecru and even a couple dirty looking white ones. My solution....tea staining. Now they are close to the same color. After tea staining and starching, the doilies were ready to assemble into a runner.

First you take the largest doilies and arrange them on the table. Fill in with smaller doilies, overlapping. Once you are sure of your placement, tack down at overlapping points by hand. The best part is if you ever decide you'd rather have individual doilies again, just snip the tacking stitching and you are set. Now to create a tablescape with this beauty!


Sharing at Mary's Masterpiece Monday, Susan's Metamorphosis Monday, Krafty Kat's Gettin Krafty With It, and Stephanie's Sunday Showcase Party.

Old Lace

Saturday, January 15, 2011
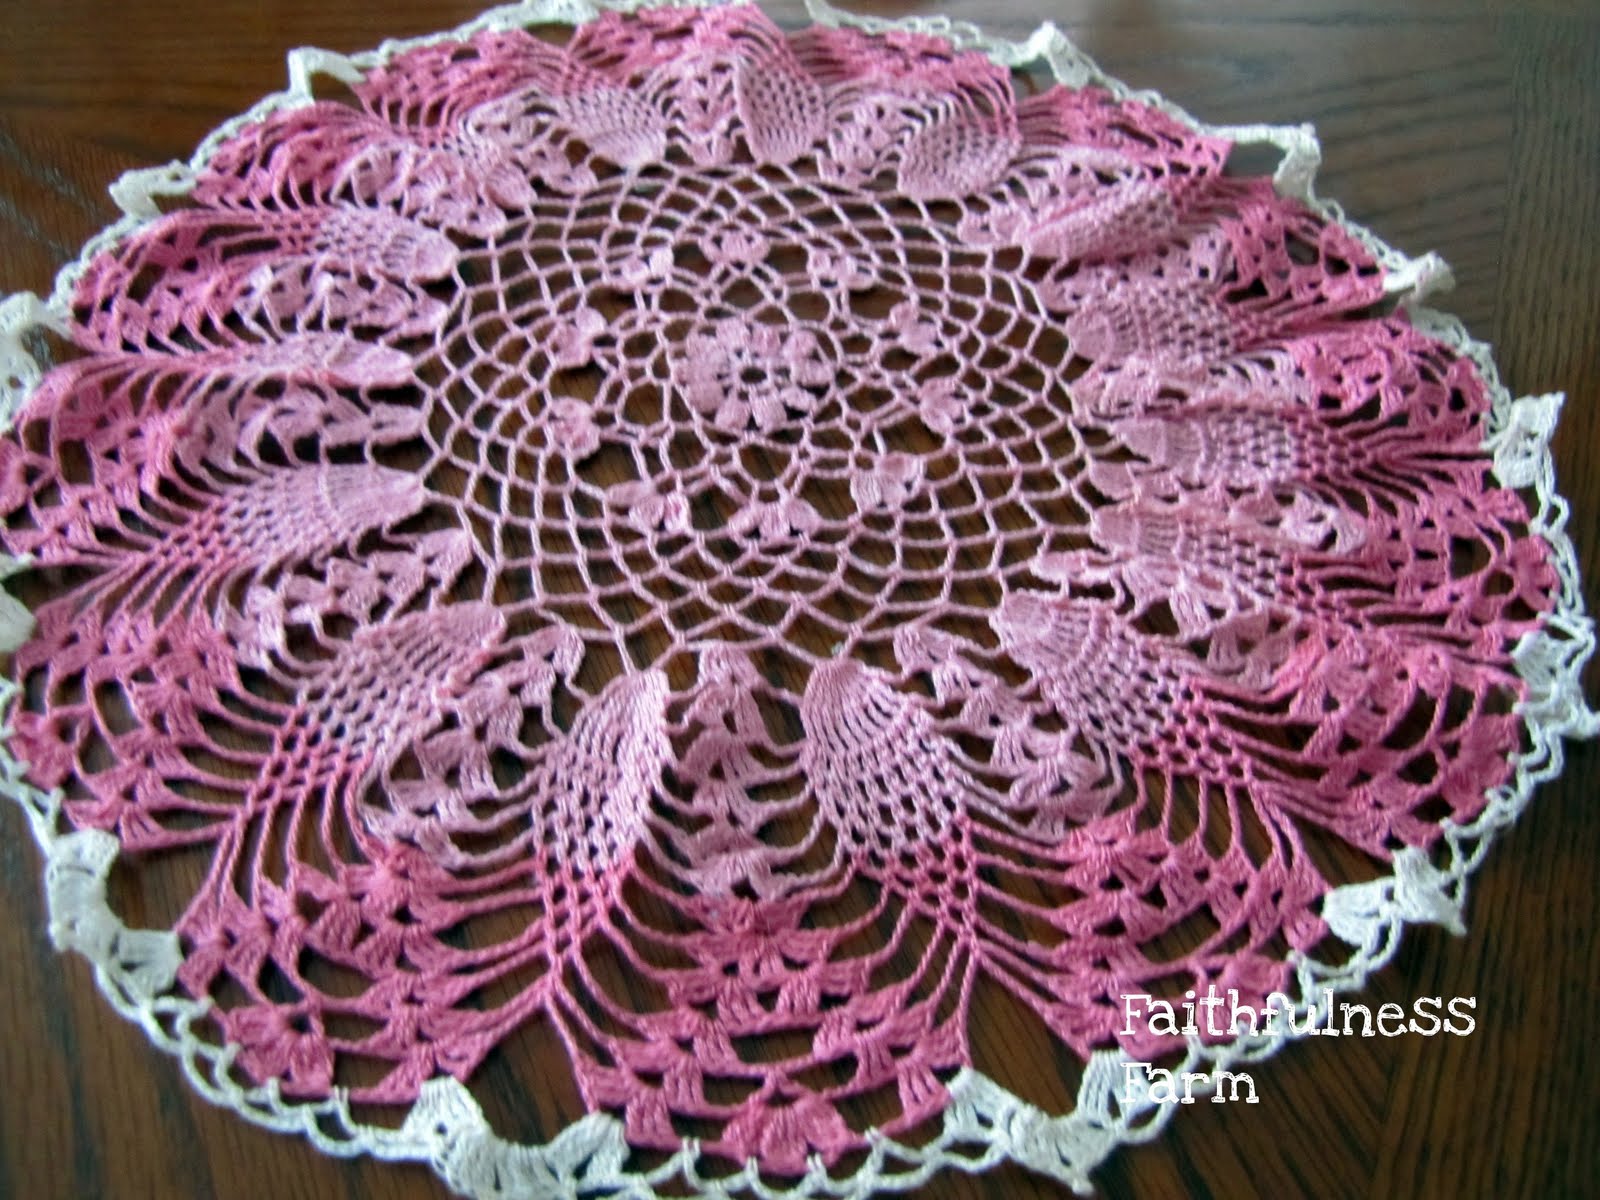
Unashamedly, I love old lace. I am especially drawn to old crocheted edgings and doilies. Maybe because I crochet edgings and doilies and know the work involved in making them. I simply cannot leave them behind when I find them. Recently when I was digging thru my seasonal goodies looking for Valentine’s themed things I found a pink doily that I had stored away last summer. It is a garage sale find. I think I paid .50¢ for it. I rarely am asked more than that for these beauties.


Since I needed to wash and starch this it before it could go on my table I thought I’d share a couple thoughts on the care of old lace.

Old lace must be handled with the greatest of care because it is fragile in nature. Age weakens the threads so even the gentlest agitating while washing can cause a break and I don’t even want to think of the damage that can be done by harsh detergents and bleach. No machine washing. The way I clean them is to use warm, soapy (homemade laundry soap but Dawn dishwashing liquid is also very good for this purpose) water in a wide-mouth canning jar.


Tuck the lace inside the jar and simply turn it around and shake it. Rinse using the same method and clear water.


Do not wring or squeeze the wet lace as you can really stress the threads.


Instead lay flat on a towel and roll it up. Gently squeeze the roll. Unroll and allow to dry flat. When almost dry press with a warm iron remembering to put a piece of muslin between the iron and the lace.


Some crocheted pieces really need starching or stiffening so the items will hold shape. There are many recipes for “stiffeners” including some using glue, sugar, flour and shellac. Avoid those. I use old-fashioned laundry starch. Although I have heard of people using spray starch, I don’t see how you can get the same penetration of starch in the threads. You can buy laundry starch in both powdered or liquid form although I have to say that the powdered starch is getting harder to find. Too bad because it really is the best product. Some day I need to do a post on all the wonderful products you used to be able to buy and now cannot. I starch between hard and medium, which gives the doily nice body but doesn't feel like it is too rigid. Using liquid starch, that is a solution of 1/3 starch and 2/3 water. Use the same method as above for wringing out and drying but use rust-proof pins to block your doily into shape.


Stop by again this next week to see what my plan is for these beauties!


Sharing at Beverly's Pink Saturday, Laurie's Favorite Things , Marty's Tabletop Tuesday and Lady Katherine's Tea Time Tuesday. Please visit these inspiring ladies and their lovely blogs.

Fallen Leaves Table

Wednesday, October 6, 2010
Today's tablescape has a fallen leaf theme. I so enjoy the turning of the season and all the beautiful colored leaves. We don't get much of that here in Nebraska...this land is very hostile to trees which is why God made it prairie, I'm sure. When we lived in Minnesota, our property was full of oaks and maples and we always had glorious color. So, instead of enjoying the changing of the colors outdoors, I've brought it in and onto my dining table.


I started with the charger that Walmart is carrying this fall. I first saw these on another blog and just loved them...I've seen them on several blogs now...Walmart saw us all coming!


Next is a cream colored plate also from Walmart. I bought 24 of these months ago on clearance for .75 each. These come in handy when entertaining a crowd.


Isn't this fabric just perfect! It came from a large bag of yardage from Goodwill. There was enough to make.....


8 of these great oversized napkins.


And then a leaf-shaped plate. I have collected a nice stack of these over the last few years. I think they all are from Walmart and I have several different colors...just like leaf plates should be.


Topped everything off with a little boo pumpkin that my dear friend Rose brought me from her pumpkin farm.


Water goblets from Dollar Tree.


Vintage silverplate was a Goodwill find.


Votive Candle Holder was a clearance find last year at our local Hallmark store. I scored 2 of them for $1.00 each.


Cloche contains silk leaves and pinecones from Hobby Lobby.


A very thrifty fall table! Sharing at Susan's Tablescape Thursday.

Remember This?

Saturday, October 2, 2010


I started this project the same weekend I did my entryway bench. This project met with stalls in the process. Do you see that the handles are really ribbons? This was how I acquired this piece (a long time ago). The piece resided in my sewing room for a long time and held notions but now I don't have a sewing room and I still love the size and scale of the piece. The paint and ribbon handles were never going to do for it's new purpose...a small kitchen hutch! I knew I wanted to paint it and add bin pulls. Picking paint was easy. I wasn't going to change it too terribly much. I wanted a red top with a cream colored body. For the bin pulls, I decided on red colored glass pulls. I ordered them from VanDyke's Restorers and waited. Painting was done and I was still waiting. Finally, they arrived and sadly the red was all wrong. Now what? Well I headed to our local home improvement center and found the bin pulls that belong on this piece. I mean it...looks like they were supposed to be on this little hutch. What do you think?!!


Sharing at Stephanie's ~ Sunday Showcase Party and Susan's Met Monday and Sue's REDnesday because it is RED afterall!

Fall Tabletops

Monday, September 20, 2010
Thy word is a lamp unto my feet, and a light unto my path. Psalms 119:105

I finally have my home autumnized! It took me longer than it does most years. I try to leave everything decorated for summer thru Labor Day but this year (like we have the last few) we vacationed over the week of Labor Day. I came back to a busy week at work (IRS deadline) and it just seemed I didn't have the energy to bring fall into the house. Over the weekend I finally found the motivation I needed.


I gave a lot of thought to how I wanted to use what I already had to decorate. The above verse kept coming to my mind as I thought of fall decorating. I knew I wanted to revamp my summer cloche display that had some of my vintage bibles in it and since I have a collection of vintage oil lamps, I wanted to use them into the decor also. I worked in a few.


In the dining room, I decorated my hutch with a amber glass pumpkin, some ironstone pieces and a stack of leaf plates.


My vintage radio sports some lovely tea items. With cooler weather, the tea pots get more of a workout!


The apples from last weeks tablescape are gone and I've reworked the display with a charger (from Walmart) and some pinecones and such.


The entry bench holds some fall issue magazines and some quilted pumpkins.


Posting to Marty's Tabletop Tuesday! Thanks for stopping by!