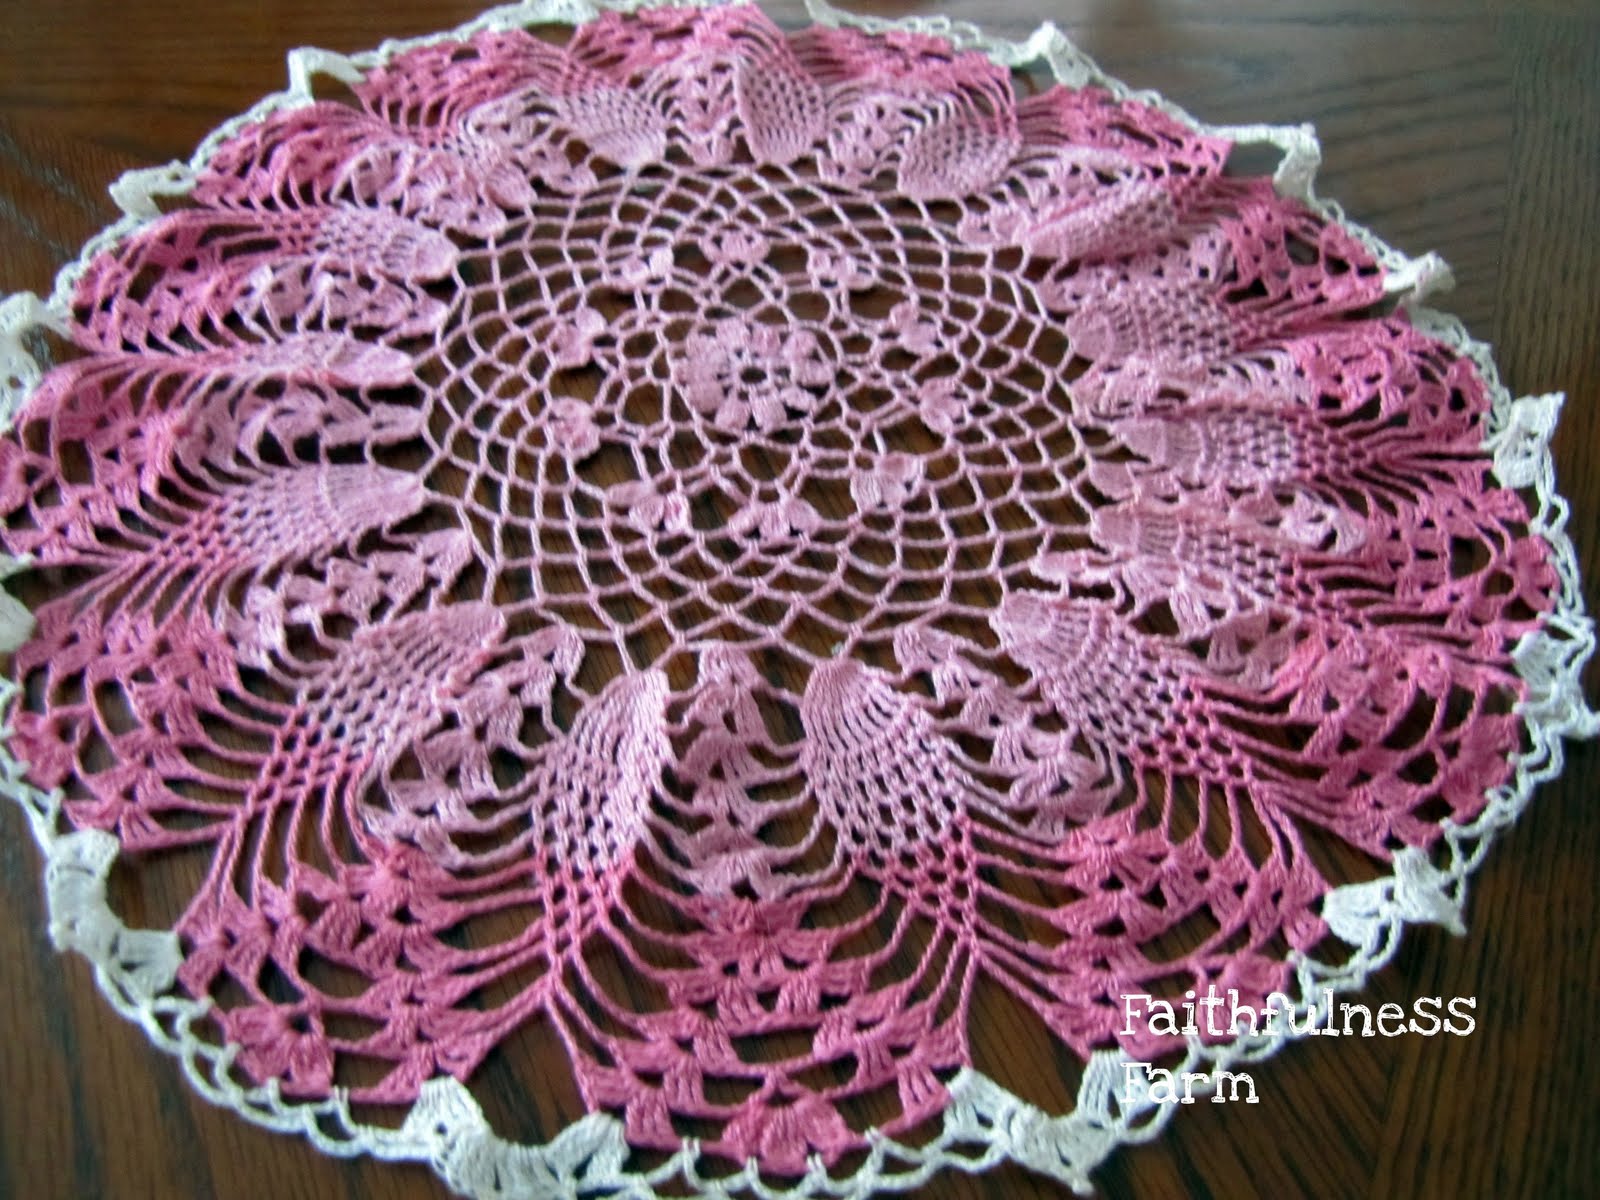
Old Lace

Saturday, January 15, 2011
Unashamedly, I love old lace. I am especially drawn to old crocheted edgings and doilies. Maybe because I crochet edgings and doilies and know the work involved in making them. I simply cannot leave them behind when I find them. Recently when I was digging thru my seasonal goodies looking for Valentine’s themed things I found a pink doily that I had stored away last summer. It is a garage sale find. I think I paid .50¢ for it. I rarely am asked more than that for these beauties.


Since I needed to wash and starch this it before it could go on my table I thought I’d share a couple thoughts on the care of old lace.

Old lace must be handled with the greatest of care because it is fragile in nature. Age weakens the threads so even the gentlest agitating while washing can cause a break and I don’t even want to think of the damage that can be done by harsh detergents and bleach. No machine washing. The way I clean them is to use warm, soapy (homemade laundry soap but Dawn dishwashing liquid is also very good for this purpose) water in a wide-mouth canning jar.


Tuck the lace inside the jar and simply turn it around and shake it. Rinse using the same method and clear water.


Do not wring or squeeze the wet lace as you can really stress the threads.


Instead lay flat on a towel and roll it up. Gently squeeze the roll. Unroll and allow to dry flat. When almost dry press with a warm iron remembering to put a piece of muslin between the iron and the lace.


Some crocheted pieces really need starching or stiffening so the items will hold shape. There are many recipes for “stiffeners” including some using glue, sugar, flour and shellac. Avoid those. I use old-fashioned laundry starch. Although I have heard of people using spray starch, I don’t see how you can get the same penetration of starch in the threads. You can buy laundry starch in both powdered or liquid form although I have to say that the powdered starch is getting harder to find. Too bad because it really is the best product. Some day I need to do a post on all the wonderful products you used to be able to buy and now cannot. I starch between hard and medium, which gives the doily nice body but doesn't feel like it is too rigid. Using liquid starch, that is a solution of 1/3 starch and 2/3 water. Use the same method as above for wringing out and drying but use rust-proof pins to block your doily into shape.


Stop by again this next week to see what my plan is for these beauties!


Sharing at Beverly's Pink Saturday, Laurie's Favorite Things , Marty's Tabletop Tuesday and Lady Katherine's Tea Time Tuesday. Please visit these inspiring ladies and their lovely blogs.

Oodles of Noodles

Monday, January 10, 2011

I have always loved regional type cookbooks. One of my favorite cookbook authors is Marcia Adams. I have all her books and many of my *specialties* are recipes straight from her books. One of our family favorites for many, many years has been Noodles With Buttered Crumbs (click for printable recipe) from Marcia's Cooking From Quilt Country. Totally COMFORT food. So simple and yet pairs well with so many mains.

Birthday son requested Noodles with Buttered Crumbs for his birthday supper. I was all set to make that when my new Country Living magazine showed up in my mailbox. The Noodle Pudding recipe from reader Barbara Wener looked like heaven and I thought birthday son might like this even better and if not, I'd make his favorite too. Yes, I made 2 different noodle dishes for the same meal. You do things like that for your kiddos! He said he couldn't choose and loved them both.


Noodle Pudding
(Printabale Version)

1 cup Panko crumbs
1 Tbsp unsalted butter, melted plus more for greasing dishes
8 ounces wide egg noodles, cooked and drained
1 cup sour cream
1 cup cottage cheese
1/2 cup grated sharp cheddar cheese
1 medium onion, finely chopped (I used a very small shallot instead)
1 clove garlic, finely chopped
1 Tbsp Worcestershire sauce
1 tsp salt
1/2 tsp red pepper flakes, or to taste

Preheat oven to 350°F. In a small bowl, toss panko with melted butter and set aside. Butter six 1-cup ramekins. In a large bowl, combine remaining ingredients. Divide noodle mixture between prepared ramekins and top with reserved bread crumbs. Bake for 1 hour. Serve hot.


Sharing at Tempt My Tummy Tuesday hosted this week At The Well and Miz Helen's Full Plate Thursday.

Clover Blossoms ~ Pink Saturday

Saturday, January 8, 2011

No clover in bloom at Faithfulness Farm today. In fact they are calling for 10+ inches of snow. You have to love January! In the Victorian language of flowers, clover blossoms mean Be Mine....isn't that just perfect for this time of year?!

Last summer I found 4 place settings of Federal's Clover Blossom dishes. I was in love. They were still in the boxes they came in and in pristine condition (you can see them here). They instantly became a favorite. Everytime I opened my dish closet, I would think, *I wish I had more of those*. My thought was I'd use them for my everyday breakfast dishes. I did find a piece here and there at the thrifty stores but they were always in very worn shape and I passed on them. Early in the fall I took the leap and put the dishes in my kitchen cupboard and started using them as our breakfast set.

As part of my New Year organizing blitz, I have been avoiding shopping at the thrifty shops. I did have a box to drop off there this week and decided to go ahead and take a quick stroll through. I was pretty proud when I found myself heading for the exit with NOTHING. Then my eye spied a box......I peek in and saw a complete set for 8 of my Clover Blossom dishes. Asking price only $5.00 so they were going home with me although I couldn't see much of their condition.


The condition was as pristine as my little set that has lived life in the original boxes.

Now I have breakfast dishes for 12 ....anyone want to come to breakfast?


Sharing at Pink Saturday, Favorite Things and Suzanne's Vintage Thingie Thursday!

Encouraging Kids in the Kitchen & The Rewards!

Thursday, January 6, 2011

This post could have been titled, A Foodie in the Making, lol.

I've written before about how blessed I was as a child to have a Mom who stepped aside in her own kitchen and allowed me to LEARN. I loved being in the kitchen. She really fostered that in me. I tried hard to be that same Mom to my kids. Over the years they have all enjoyed being in the kitchen and as a homeschooling family, I tried to use kitchen time as learning time.

My youngest son (#3 of 4 children) turns 18 tomorrow. He has been the one with the MOST interest in cooking by far. Probably started when we bought him a Little Tykes kitchen for his 2nd Christmas (much to the dismay of the menfolk in the family, lol). He always wanted to know what was going on in the kitchen, why you do things a certain way and how can that be done better! At one point, he expressed interest in becoming a chef. That has passed but he does work part-time in a local grocery store and he helps me in my part-time catering enterprise. And does that boy enjoying watching FOOD channel.

He expressed an interest in making Christmas dinner. A pretty big task. He thought he was ready and so did we...afterall, we would be there if he ran into trouble. He performed like a pro. We are so proud of him and did that meal taste wonderful. Our Christmas Menu doesn't change much from year to year. Roast Beef, Yorkshire Pudding, some sort of potato, brussel sprouts and usually a salad. This year he also made Cauliflower Gratin for me since I don't eat potatoes.

So, when you allow your kids to spend time in the kitchen, you teach them skills they will use their whole lives AND they may be so inclined to make you a feast some day!

The Feast all plated up!

Yorkshire Pudding

The roast beef taking a rest.

Happy 18th Birthday Son!!

Sharing at Mz Helen's very first Full Plate Thursday and Michael's Foodie Friday! Thanks for hosting ladies!!


101 Cupcakes, Cookies & Brownie Recipe Winner!

Tuesday, January 4, 2011


The giveaway winner is Lyndaloo! Miss Lynda you have this WONDERFUL Gooseberry Patch Cookbook AND a Faithfulness Farm cupcake apron coming your way! Enjoy!

More Gooseberry Patch reviews and giveaways to come.

Cast Iron Cooking ~ Skillet Poppy Seed Chicken

Sunday, January 2, 2011

After a break from my Cast Iron Cooking segment, I've dusted the trusty skillets and am back with a bunch of new and reworked recipes! First in the line up is Skillet Poppy Seed Chicken......this one skillet recipe certainly isn't your mother's Poppy Seed Chicken recipe. No cream-of-something soup and no crackers in this delicious remake. My family asks for this comfort food often. I usually serve with some sort of noodle or pasta and green beans w/almonds.


Skillet Poppy Seed Chicken
(Printable Version)

1 Tbsp olive oil
3-4 boneless, skinless chicken breasts
salt and pepper to taste
2 Tbsp butter
1 small shallot, minced
1/2 pound fresh mushrooms, sliced
3 Tbsp flour
1/2 c dry white wine (you can omit and just add more broth)
1-1/2 cups chicken broth (or you can use homemade stock)
1 cup (8 ounces) sour cream
1 jar (2 ounces) diced pimientos, drained
Topping:
1/2 cup butter, melted
1-1/2 cups Panko crumbs
2 teaspoons poppy seeds

Heat olive oil in a large cast iron skillet over medium high heat.

Season chicken breasts with garlic powder, salt and pepper. Cook in olive oil until well browned on each side and cook through.

Remove to a plate and cover.

To skillet add shallots and wine (or 1/2 cup chicken broth) and scrape up all the brown bits that are stuck on the skillet bottom and cook until shallots are softened.

Add butter and mushrooms. Saute mushrooms until tender.

Add flour and stir around to make a roux. Pour in broth and stir until thickened. Add sour cream and pimientos.

Slice and stir in chicken and any juices from the plate. Remove from heat.

In a small bowl, combine the topping ingredients. Sprinkle over the chicken. Place skillet into oven and bake at 350° for 20-25 minutes or until heated through and topping is browned.

Yield: 6 servings.